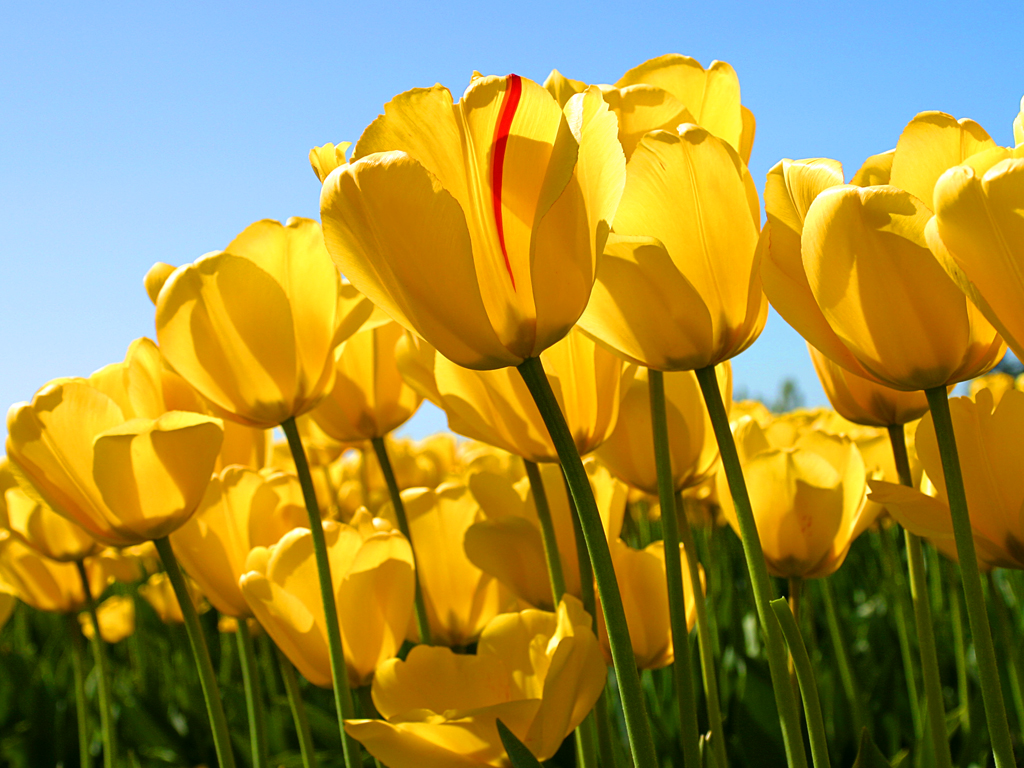
 After
After
The before image was the original image which Jamie Myland
(teacher) gave us from the VLE and then told us to edit it on Photoshop together
as a class. Therefore the after image is the one which I ended up with after
all the hard work
What?
We learned about Hue/saturation.
Render – clouds
Where?
It was in the class with everyone but at the end everyone
had different editions to the image as there was so much in the hue and
saturation tool which can be used.
Who and When?
This picture was edited when Jamie was demonstrating about Photoshop
key feature which was hue and saturation.
Why?
To learn how to change the colour of the original image into
a different one using the Hue and saturation tool and alongside learning just about
colours of the tulip, because the picture included a sky, there is a special
tool in Photoshop which can change the colour of the sky but keep its original design
which is in filter>render and then clouds.
How?
Firstly, every photo which is taken either by a digital
camera or by mobile phones it has pixels to it. Therefore what hue and
saturation does is changes the colour of the pixels using its RGB (Red, Green
and Blue) colour feature and as a result i was able to change the colours of
the tulips from yellow to pink. However I was also able to change it to
different colour i.e. green red but i choose to look a bit more different from
other therefore i decided to choose Pink colour.
No comments:
Post a Comment